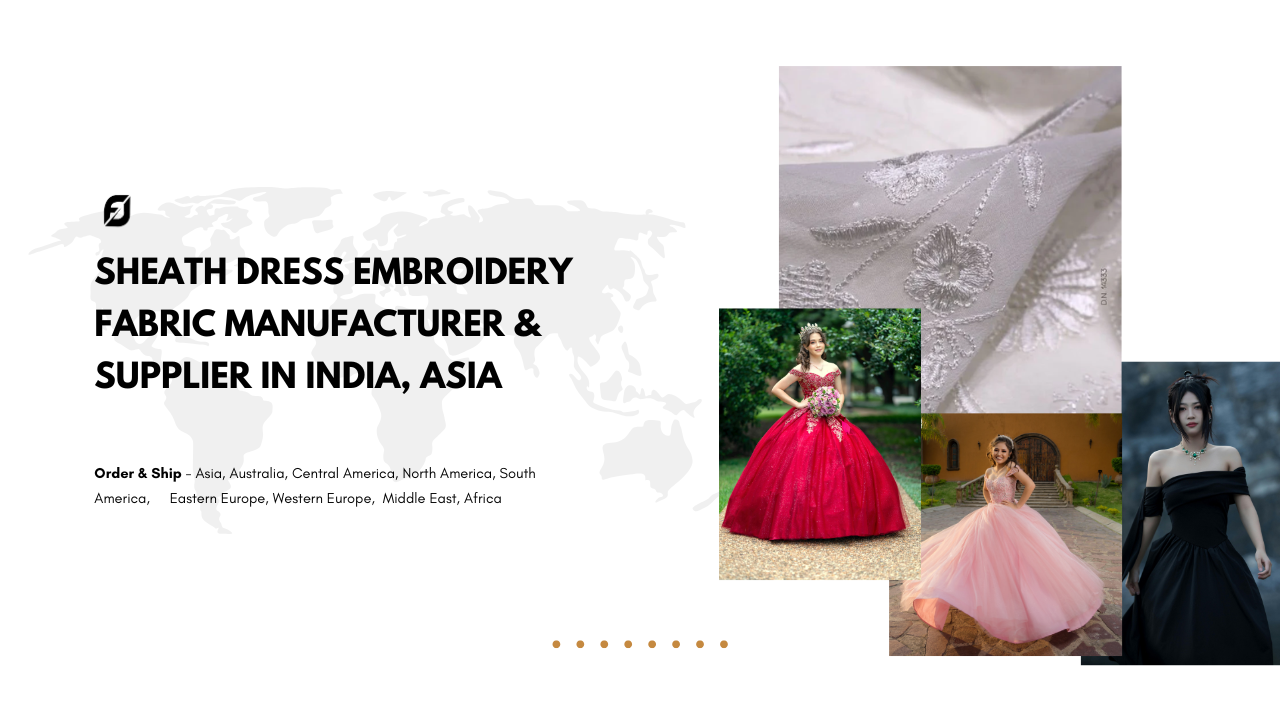
Embroidery Fabric is an art form that allows you to add a touch of elegance and beauty to any fabric.
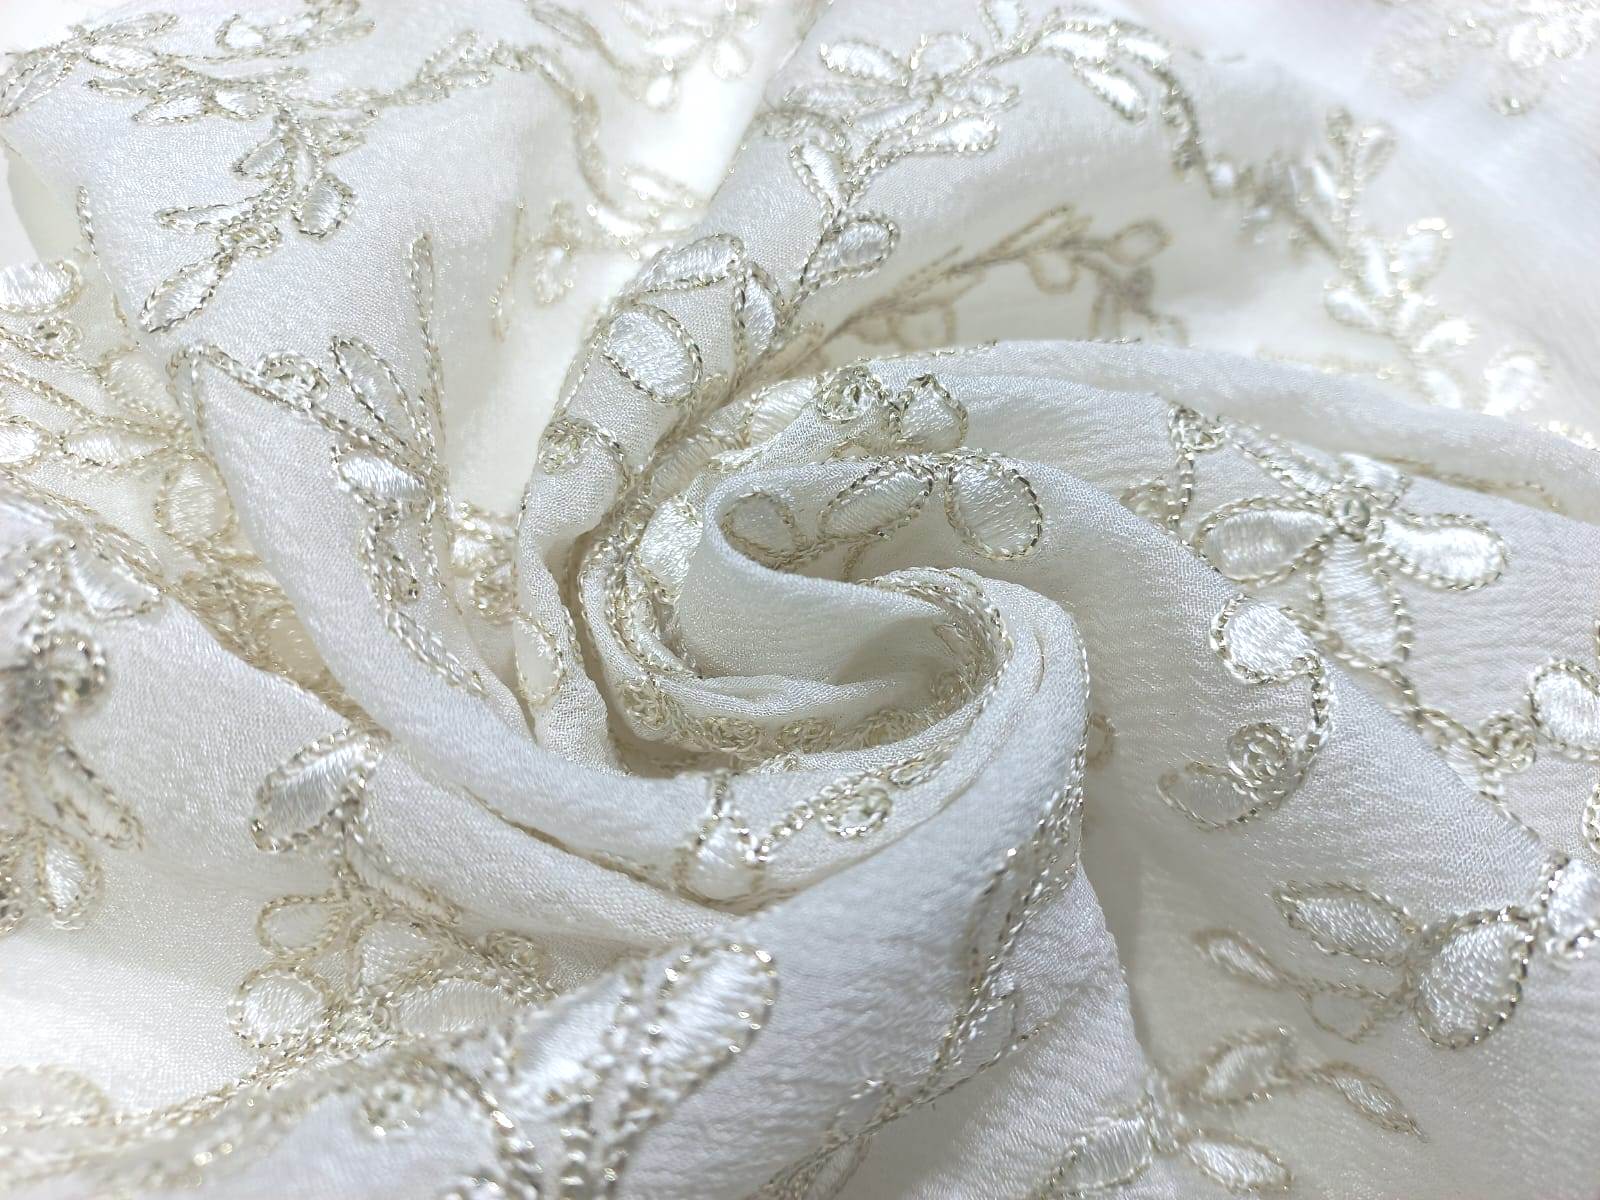
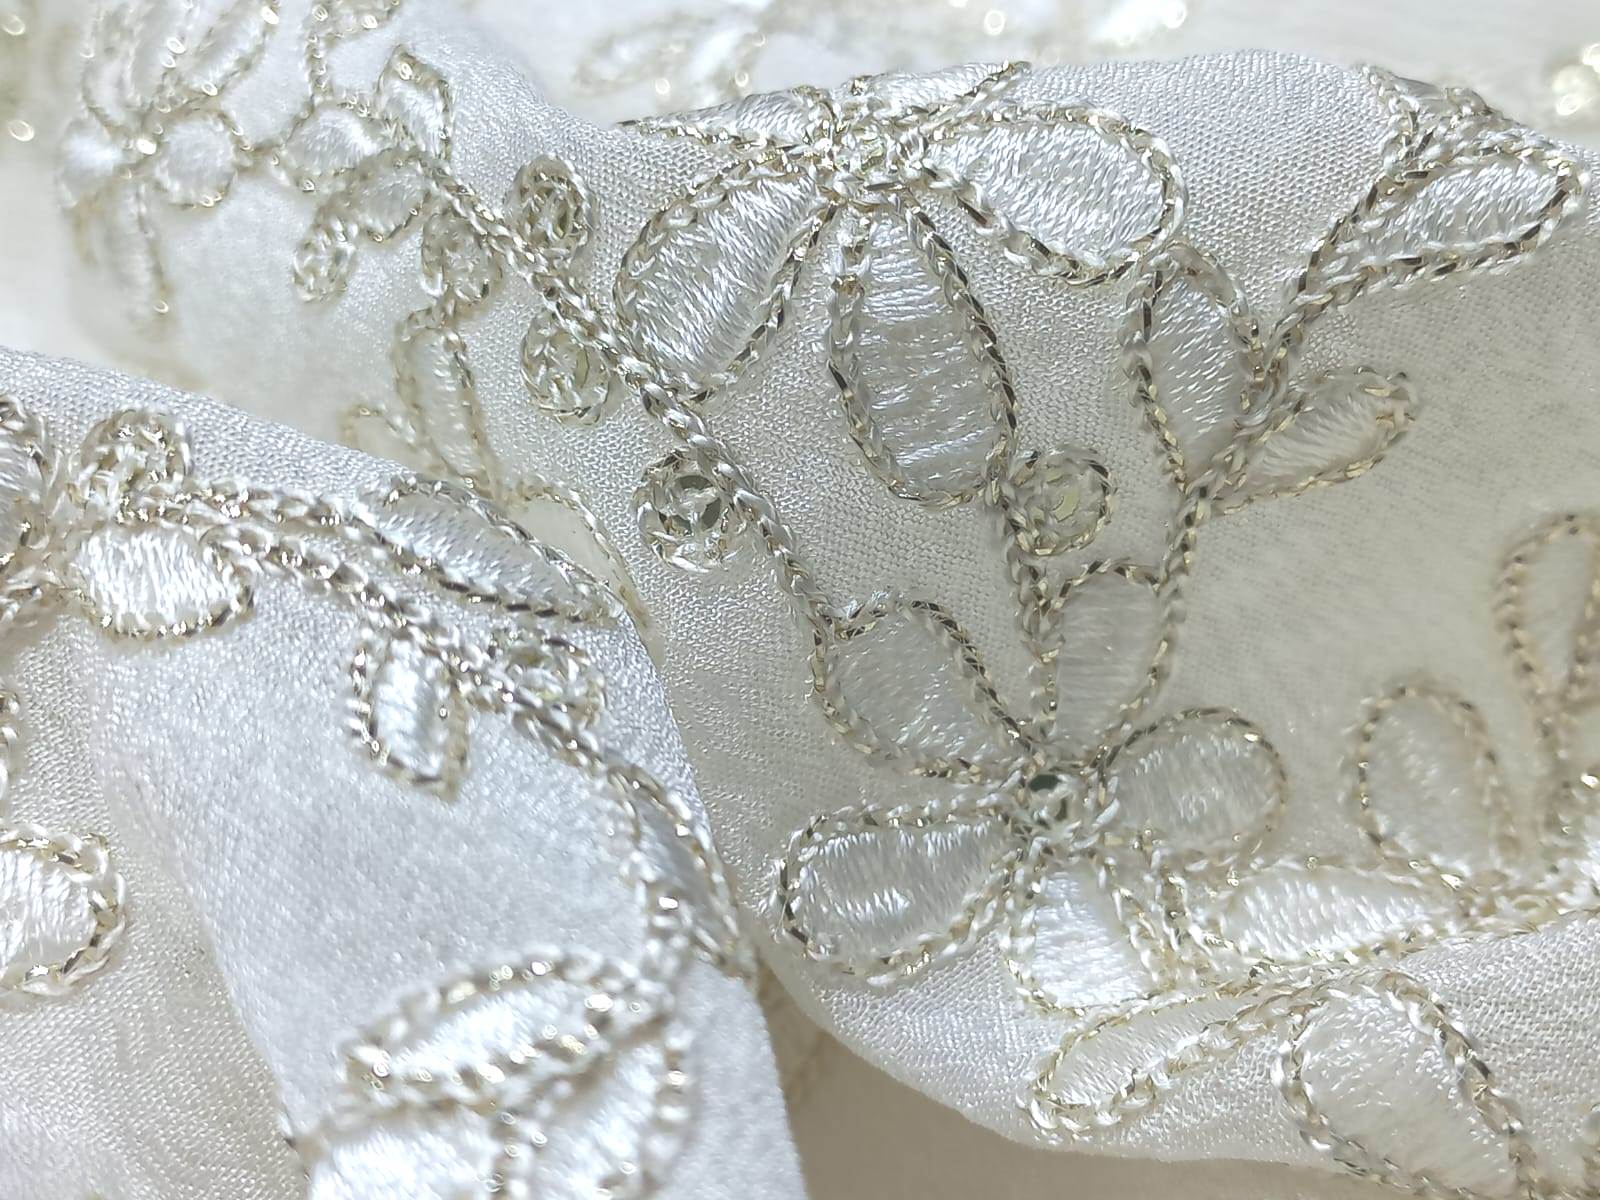
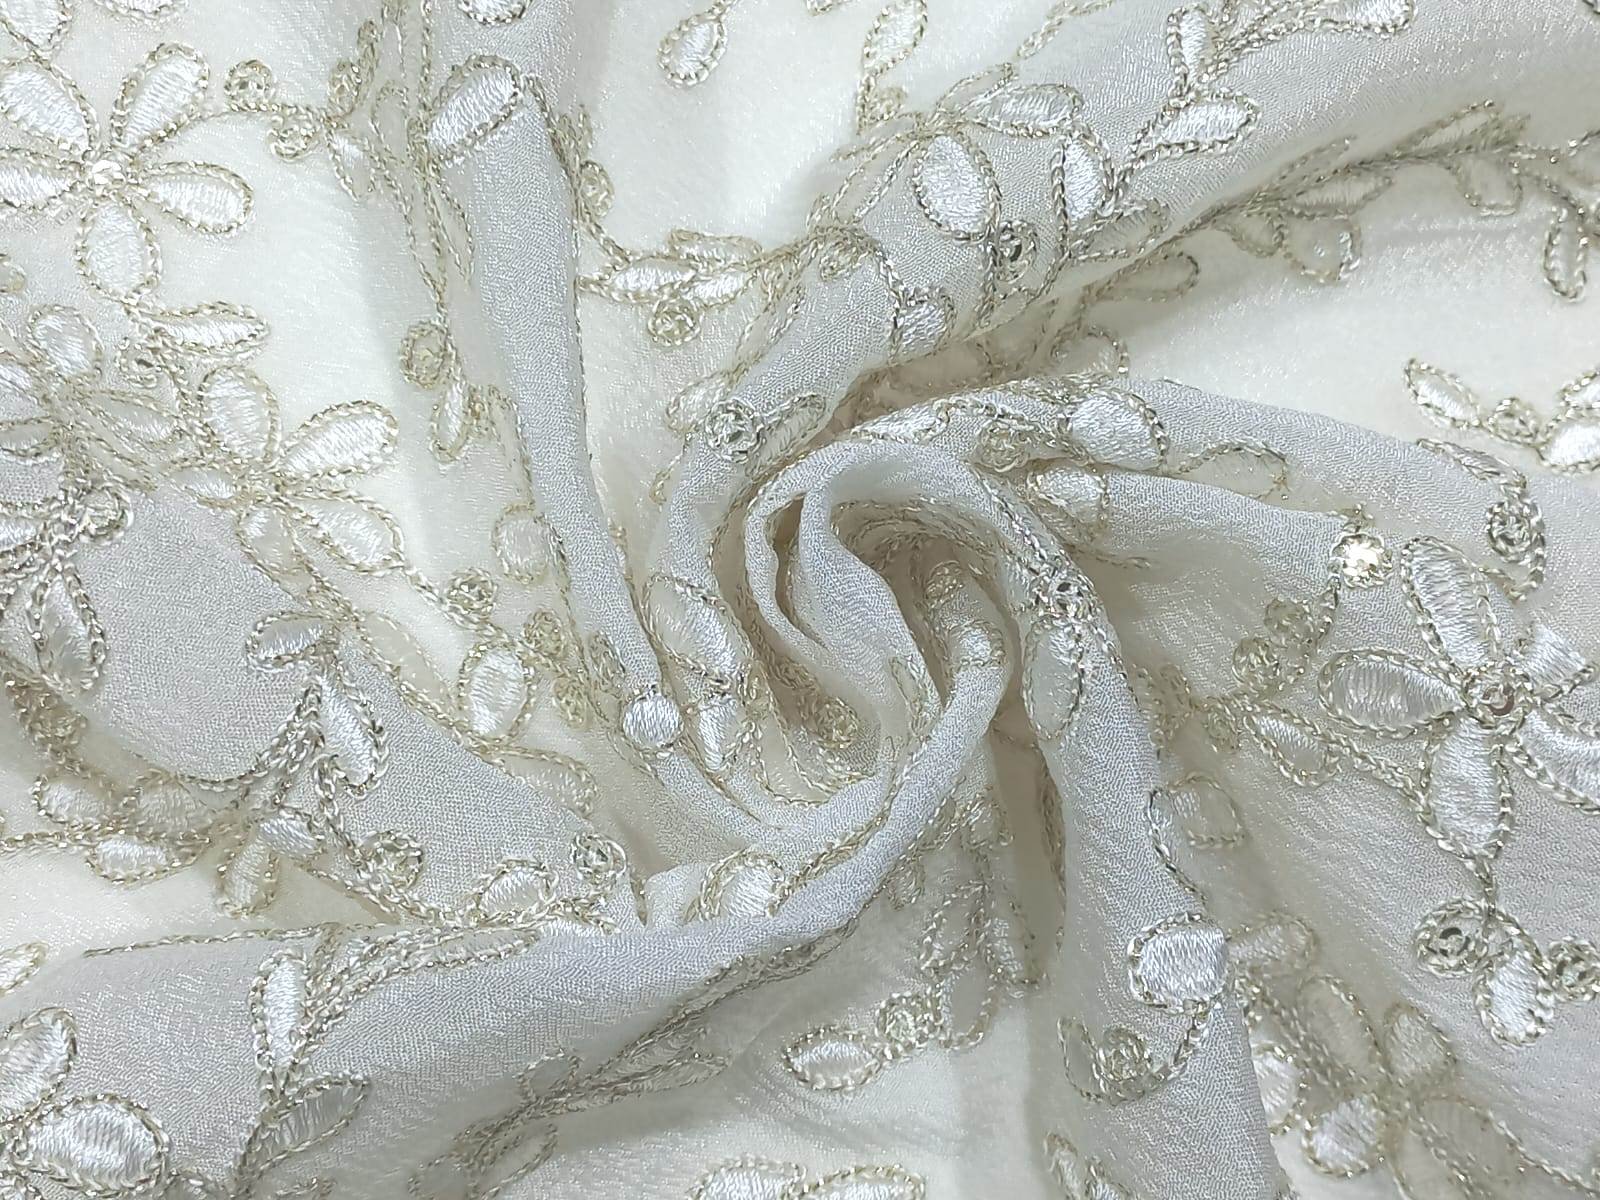
Among the various embroidery styles, the chain stitch stands out for its classic and intricate appearance. When combined with viscose thread on delicate georgette fabric, it creates a stunning contrast that enhances the overall appeal of your design.
10 Step-by-Step Guide: How to Achieve the Perfect Embroidery Fabric Chain Style with Viscose Thread on Georgette Fabric – 10148
In this step-by-step guide, we will walk you through the process of achieving the perfect embroidery fabric chain style on georgette fabric using viscose thread.
Materials Needed:
- Georgette fabric (pre-washed and pressed)
- Embroidery hoop
- Viscose embroidery thread in your choice of colors
- Embroidery needles (size suitable for viscose thread)
- Scissors
- Water-soluble fabric marker
- Design template (printed or drawn)
Step 1: Prepare Your Fabric and Hoop
Ensure your georgette fabric is clean and free from any wrinkles. Gently iron it to create a smooth surface for embroidery. Place your fabric securely within the embroidery hoop, making sure it is taut but not stretched.
Step 2: Choose Your Design and Transfer
Select a chain stitch design that complements your project. You can either print a design template or draw it directly onto the fabric using a water-soluble fabric marker. This marker will disappear once the embroidery is complete, leaving no trace on the fabric.
Step 3: Thread Your Needle
Using a suitable embroidery needle, thread it with the desired color of viscose embroidery thread. Viscose thread has a natural sheen and a soft texture, making it ideal for georgette fabric.
Step 4: Start the Chain Stitch
To begin the chain stitch, bring the needle up from the back of the fabric at the starting point of your design. Leave a small tail of thread on the wrong side of the fabric to secure the thread.
Step 5: Create the First Loop
Insert the needle back into the fabric very close to the starting point and bring it up a short distance away. Ensure the thread forms a loop on the surface.
Step 6: Lock the Loop
As you pull the needle up, pass it through the loop created by the thread. This will secure the loop and form the first chain stitch.
Step 7: Continue the Chain
Repeat steps 5 and 6 to create a continuous chain. Maintain consistent stitch lengths and spacing to achieve a neat and uniform appearance.
Madhav Fashion stands as India’s premier embroidery fabric manufacturing brand, renowned for its unrivaled excellence. With a vast collection of premium fabrics, we redefine elegance and quality. Our commitment to innovation and customer satisfaction makes us the preferred choice for designers and creators worldwide. Experience the epitome of craftsmanship and luxury with Madhav Fashion.
kinjal
Step 8: Change Thread Colors (Optional)
If your design requires multiple colors, complete one color segment of the chain stitch before switching to another color. To change the thread color, secure the last stitch of the previous color by passing the needle through the loop and then begin the next color as described in Step 4.

Step 9: Finishing Off
Once you have completed your chain stitch embroidery, tie a knot on the backside of the fabric using the tail left at the beginning (Step 4) and trim any excess thread.
Step 10: Washing (Optional)
If you used a water-soluble fabric marker for the design transfer, gently wash your georgette fabric to remove any remaining marks. Always follow the fabric’s care instructions.
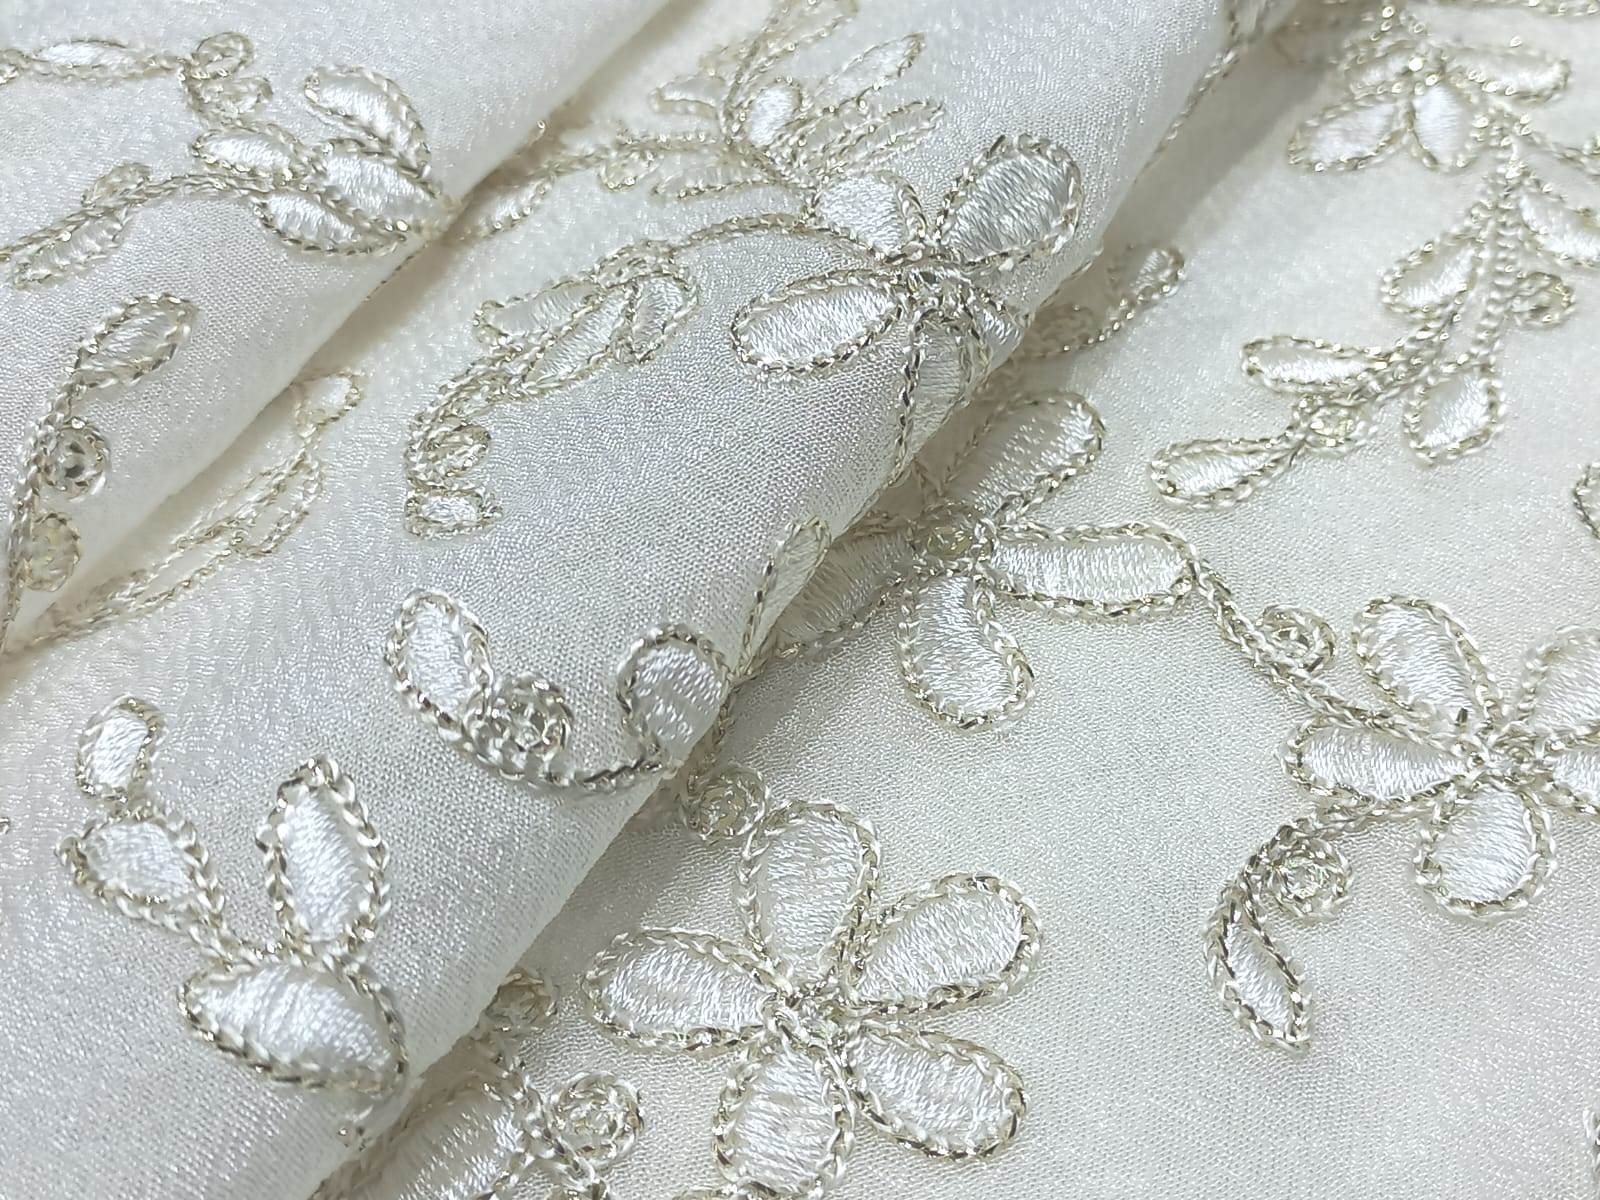
Embroidering the perfect chain stitch with viscose thread on georgette fabric can add a touch of sophistication to any garment or home decor item. With the step-by-step guide above, you can confidently create stunning embroidery designs that stand out with their intricate chain stitch pattern. Enjoy the creative process and let your imagination flow as you bring your unique ideas to life through this beautiful embroidery technique. Happy stitching!


